
When you create a Brand Portal, you can choose which products to include by assigning them directly as a Destination, and which assets to display by selecting an existing asset list or creating a new one! In this article you will learn how to add products and assets to your Brand Portal.
*Skip to any section in this article by clicking on the links above
Adding Products
A Brand Portal is a Destination, so products are added to it the same way they're added to any Destination: by assigning them directly. There is no separate product list step, once a product is assigned to a Destination, it stays assigned until it's specifically removed.
To add products to a Brand Portal:
- Click on Brand Portals in the top navigation menu.
- Click on the name of the portal you want to add products to.
- Navigate to the Products tab.
- Click the Add products button.
- In the Add products window, use the All products and Selected tabs to browse everything available or review what you've already checked off.
- Use the Search by SKU or label field to find specific products, or tick the Select all checkbox to select everything shown.
- Tick the checkbox next to each product you want to add. The product count at the bottom left (e.g. 60 products) reflects the total available to choose from.
- Click the Save button to confirm, or the Cancel button to back out.
While you're still in the Add products window, you can deselect a product before saving by heading to the Selected tab and clicking the X icon beside it.
To remove a product that's already assigned to the Brand Portal, tick the checkbox next to it (or multiple checkboxes) in the Products table, then click the trash icon in the bulk action bar at the bottom of the screen and click the Remove from destination button to confirm.
Once you've chosen which products to include in this portal, they will appear in a table below, along with some basic information.
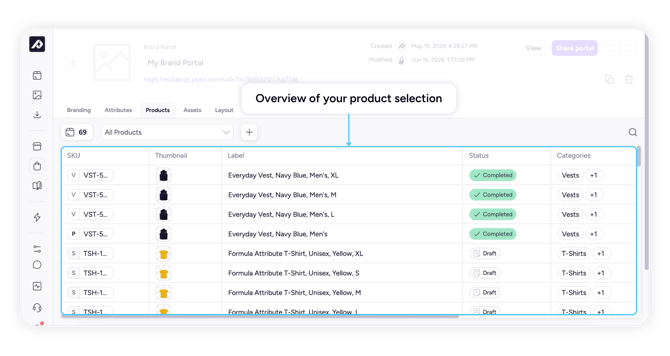
💡 You can also assign products to this Brand Portal from outside the portal itself, for example, from Product Overview using the bulk action bar, from a product's own Detail page under its Destinations tab, or via an Automation. Learn more about all four assignment methods, plus filtering products by Destination and setting inheritance, in Understanding and Managing Destinations.
Adding Assets
To add assets to a Brand Portal:
- Navigate to the Assets tab.
- From here you can:
- Include all assigned assets (this will include all assets that are assigned to products in your PIM, even if it's assigned to a product not shown in the portal).
- Select an asset list to only include assets from that list.
- Create a new list of assets to include.
- Click the Save changes button.
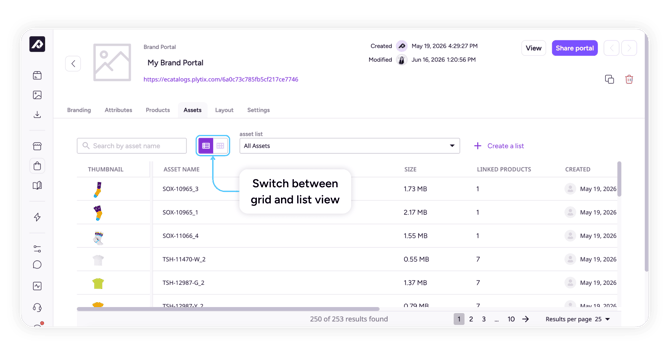
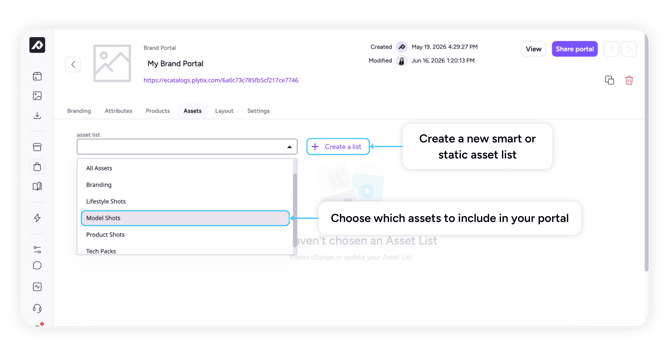 Once you've chosen which assets to include in this portal, they will appear in a table below the dropdown. The table will include some basic information for each asset and you can switch between table and grid view.
What's next?
- Set the export preferences for your Brand Portal
- Set the notification preferences for your Brand Portal
- Set the security settings for your Brand Portal