
In this article, we’ll walk you through setting up a feed export in Plytix, ready to be uploaded to the Microsoft Shopping. You’ll be able to prepare it quickly, in just a few steps, using our template, which includes the attributes required by
ℹ️ Please note that this guide is intended as a useful resource for Plytix customers, but Plytix cannot be held responsible for the use of third-party tools.
Creating a Microsoft Shopping Channel
Setting up a Microsoft Shopping Channel
Creating a Microsoft Shopping Channel
All Channels, including Microsoft Shopping, are managed in the Channels section of Plytix. This area can be found on the top menu of the main navigation bar.
To create a new Microsoft Shopping Channel:
- Go to the Channels section
- On the right of the screen, click "Add Channel"
- Then give your Channel a unique name, and choose Microsoft Shopping
- Click "Add Channel"

Setting up a Microsoft Shopping Channel
1. Choosing Products
Add a Product list containing the products you want to include in your feed by navigating to the "Products" tab and choosing a list from the dropdown menu. Alternatively, you may choose to create a new list by clicking "+ Create a list".
2. Attribute Mapping
The third tab in your Microsoft Shopping Channel setup is called "Mapping". This is where you'll match attributes from Plytix to Microsoft Shopping fields.
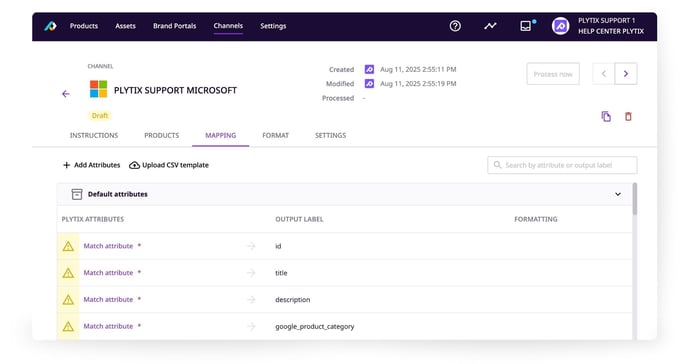
💡 All attributes can be configured to show a different output name and other handy options. You can also create new attributes based on formulas by adding an Attribute Transformation.
3. Defining Output Format
In the "Format" tab of your channel, you can configure the order in which your attributes should be displayed, and whether to include attribute values for product parents, variants, sub-variants or all.
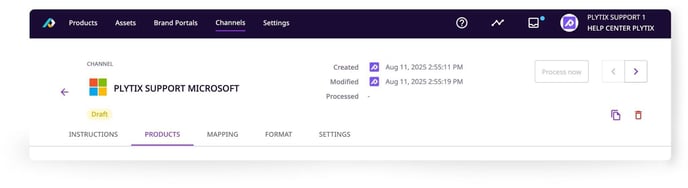
4. Processing the Feed
To finalize the feed, you need to process it. It will then generate a feed link and file that you can use in your Microsoft Shopping account.
To process your feed:
1. Go to the top of the Channel area.
2. Click the "Process now" button. In the next window that appears, adjust settings and click "Start processing"
5. Settings
Schedule recurring processing in the "Settings" tab of your Channel to automate product content updates. Additionally, from the Settings tab of your channel, you can also change the file name, send a copy of your file to Dropbox or an FTP server, and create Webhooks
💡 Note that this will automatically turn your channel into "Live", and it will then be counted towards your total count of Live Outputs.