
Creating and updating products in your BigCommerce store is easy with Plytix! With Plytix’s BigCommerce app, you can connect different storefronts in your BigCommerce account to your PIM with no coding required. In this article, you will learn how to access the Plytix app to connect your PIM with BigCommerce.
ℹ️ If you'd like to get access to Plytix's BigCommerce channel, please contact your Account Manager.
Logging into your Plytix Account
Signing up to Plytix with a New Account
Connecting Different Storefronts
*Skip to any section by clicking on the links above
Connecting to the Plytix App
The first step to connect your BigCommerce store to Plytix is to install the Plytix app.
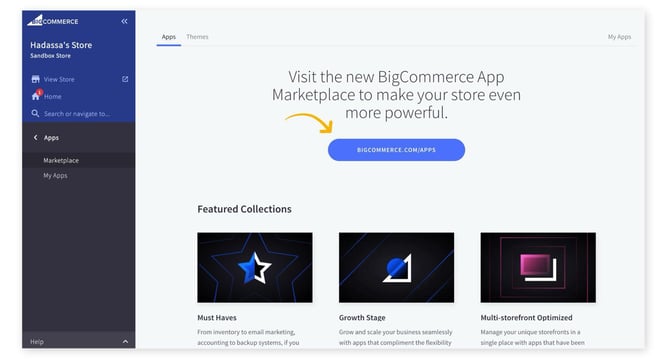
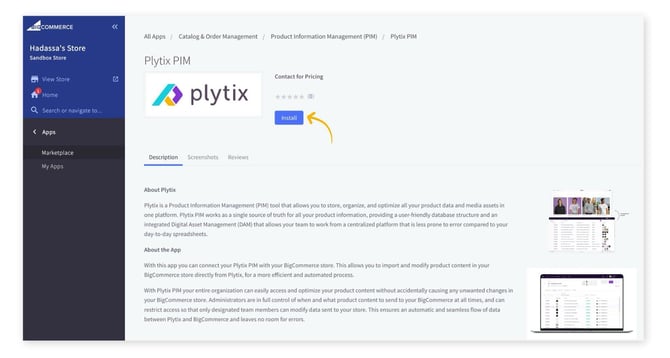
3. A disclaimer message pops up listing the type of access required by the Plytix app. These access rights are needed to create and update products from Plytix to BigCommerce.
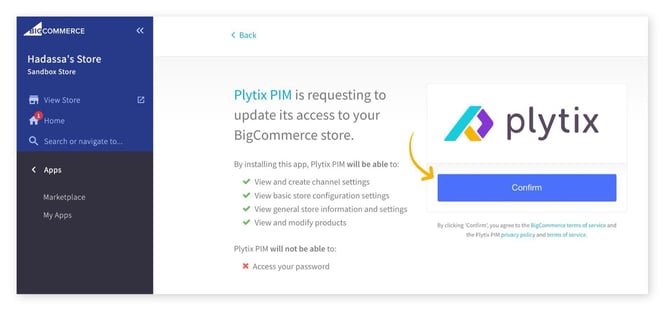
5. Another popup appears with a link to be redirected to the Plytix platform. Click Go to Plytix.
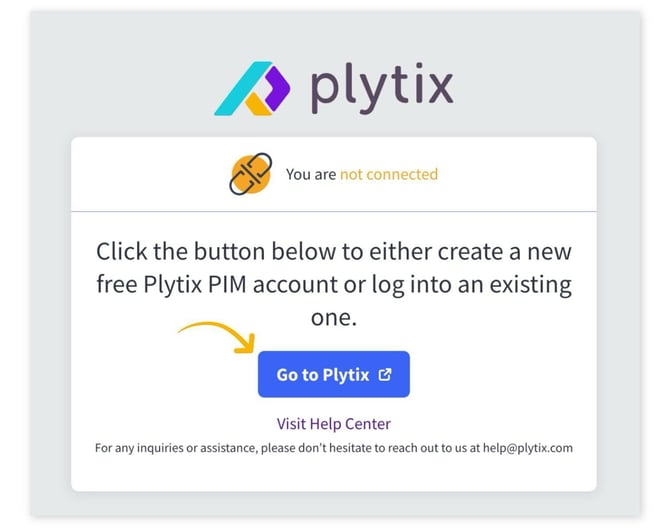
6. You'll then find a window with log in or sign up options.
There are two ways to connect BigCommerce to Plytix:
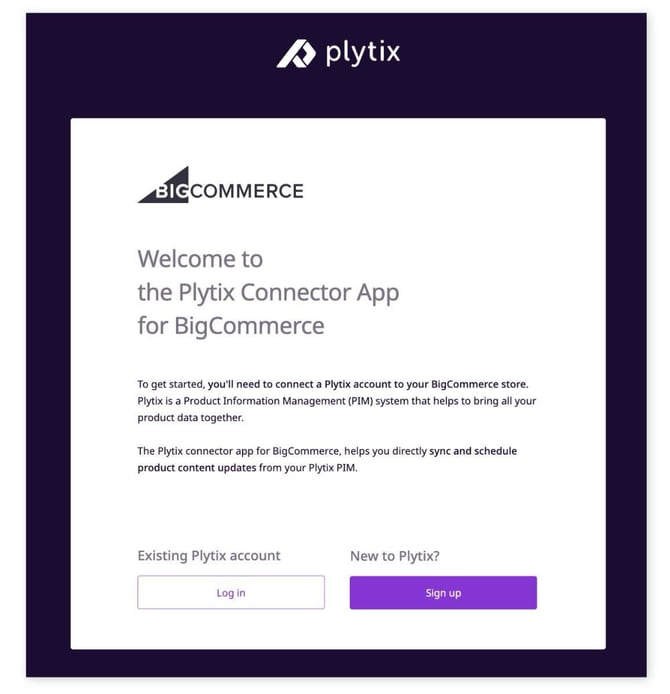
Logging in to your Plytix account
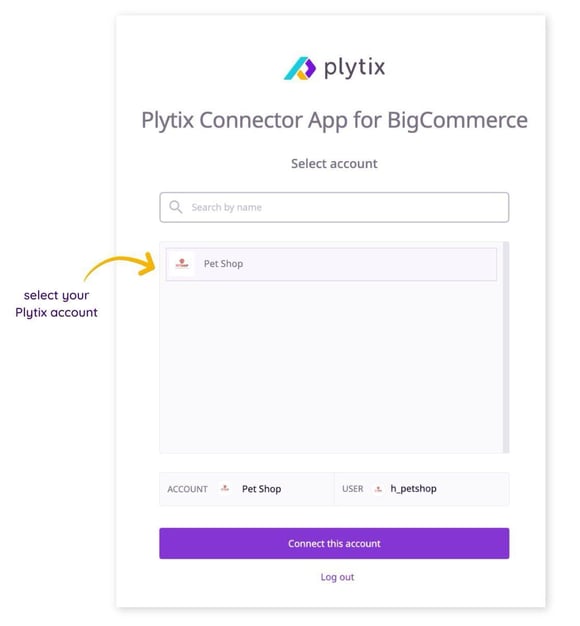
If you already have a Plytix account, click Log in. After logging in, a dropdown of all the accounts you're a user in shows up.
You'll only be able to select an account to connect BigCommerce to if:
- The channels module is activated in the account, and
- You have channel editing permissions.
The Connect the account button automatically enables once an account meets both of these requirements.
ℹ️ If you're facing any issues, or would like to add channels in an account to access the BigCommerce connector, reach out to us via the chat icon in the bottom right of the login/sign-up page.
2. A window will pop up asking you to name your channel.
3. Choose a storefront to connect to the channel.
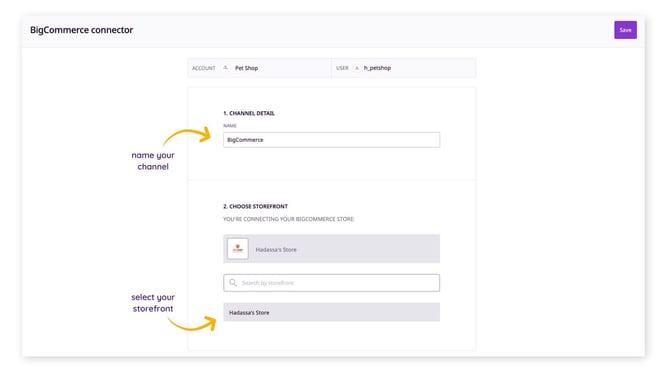
ℹ️ Only one store is allowed per Plytix account, but you can add as many storefronts belonging to that store as needed. BigCommerce itself refers to storefronts as "channels" in its own interface, so a BigCommerce store with several of its own "channels" translates to several storefronts you can connect, one Plytix channel per storefront. After setting up your BigCommerce connector, you can create a different BigCommerce channel and select a different storefront within the same store. See Connecting Different Storefronts below.
Signing up to Plytix with a New Account
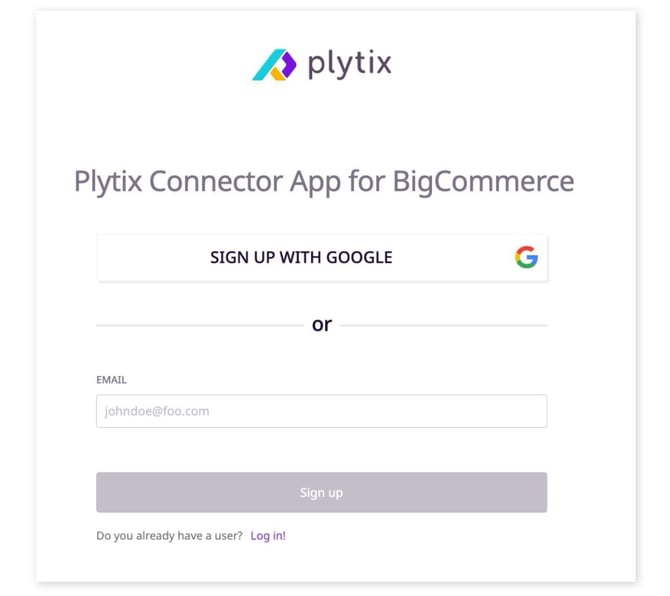
If you don't have a Plytix account, you can sign up through Google Single Sign-On or by manually entering your email.
1. Sign up with your email or Google account.
2. Verify your email address via the link sent to your inbox.
⚠️ The verification link expires in 24 hours, but you can access the page as many times as needed within this timeframe.
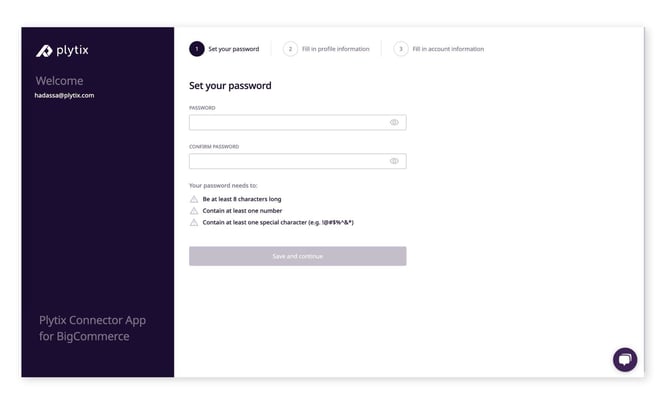
3. Set up your password, then click Save and continue.
ℹ️ If you're signing up through Google, the password step is skipped.
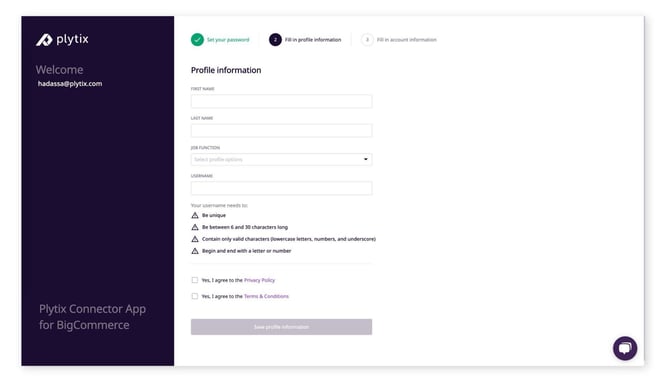
5. Fill in your account information with your company's details, then click Save the account and get started.
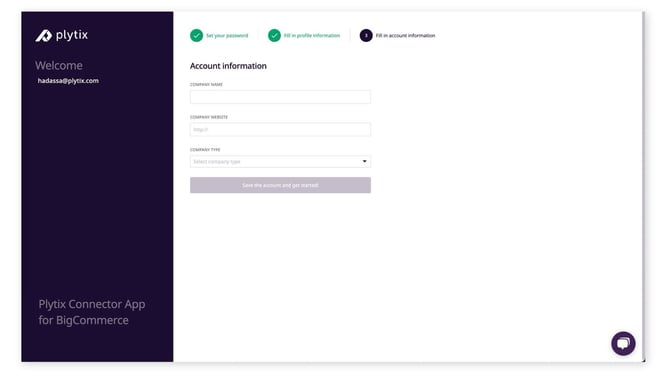
6. Set up your BigCommerce store information.
Connecting Different Storefronts
After connecting your BigCommerce store to Plytix, you can also create different channels for the different storefronts within that same store.
To connect different BigCommerce storefronts to Plytix:
- Click Add channel on the channels overview page.
- Name your channel and select the BigCommerce channel type.
- Select your store and choose your storefront.
- Click Add channel to save.
Now you can start sending your products over from Plytix to the storefront you chose.
What's next?
- Learn how to map BigCommerce fields with Plytix attributes
- Learn how to manage your BigCommerce channel
- Learn how to create different channels for syndication