
⚠️ This feature is not available in all accounts. Please contact your Account Manager for more information about it!
Team roles is a paid account feature that allows you to create custom permission schemes for your users. Teams and roles can be managed from their respective tabs located in the account settings area. Users need admin permissions in order to see and edit this information.
This article explains how to create new custom team roles under your Account settings, and how to assign roles to different users.
*Skip to any section in this article by clicking on the links above
Accessing the accounts area
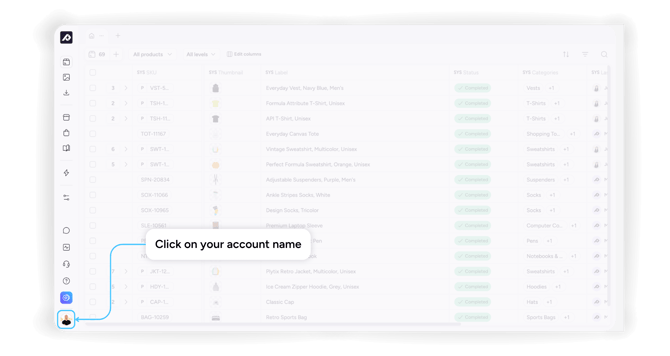
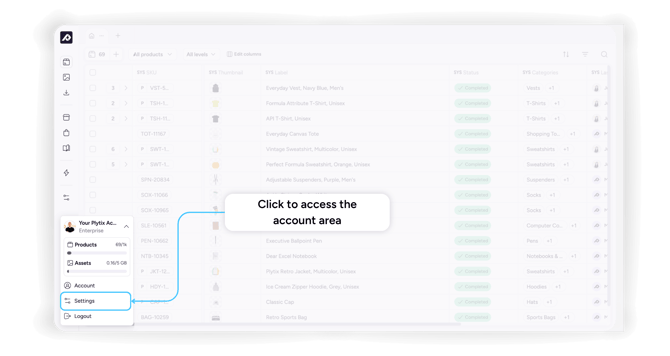
To access the accounts area in Plytix, you can navigate to accounts.plytix.com.
You can also access this area by:
- Clicking on your profile picture in the top right corner of the platform.
Creating team roles
- Go to the "Roles" tab in the account settings area
- Click 'Create role'
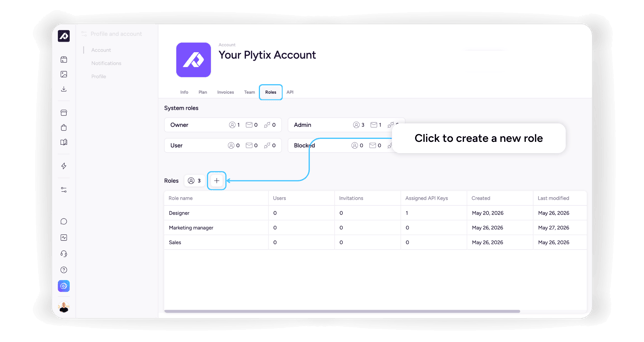
- Give the Role a name (you can change this later)
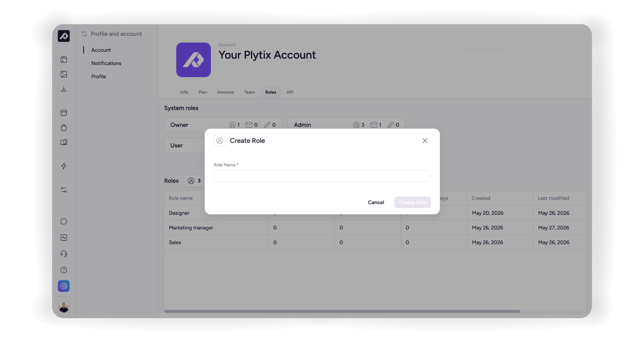
- Set up your permissions and when you are happy, click 'Save changes.' You can also change the role's permissions settings later.
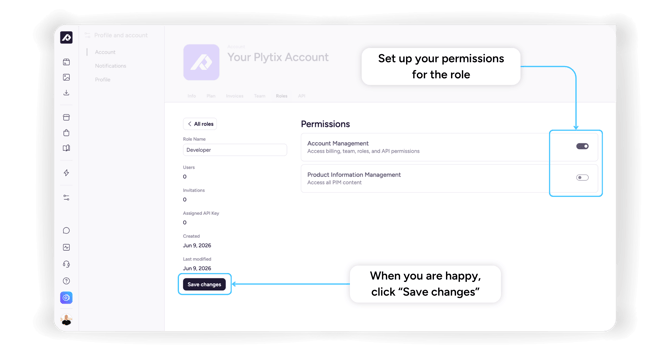
Now your Role is ready to be assigned to users and API keys! You can edit these roles at any time by visiting the "Roles" tab and clicking the 'Edit' icon for the role you want to update.
ℹ️ You may create up to 15 team roles.
Assigning team roles
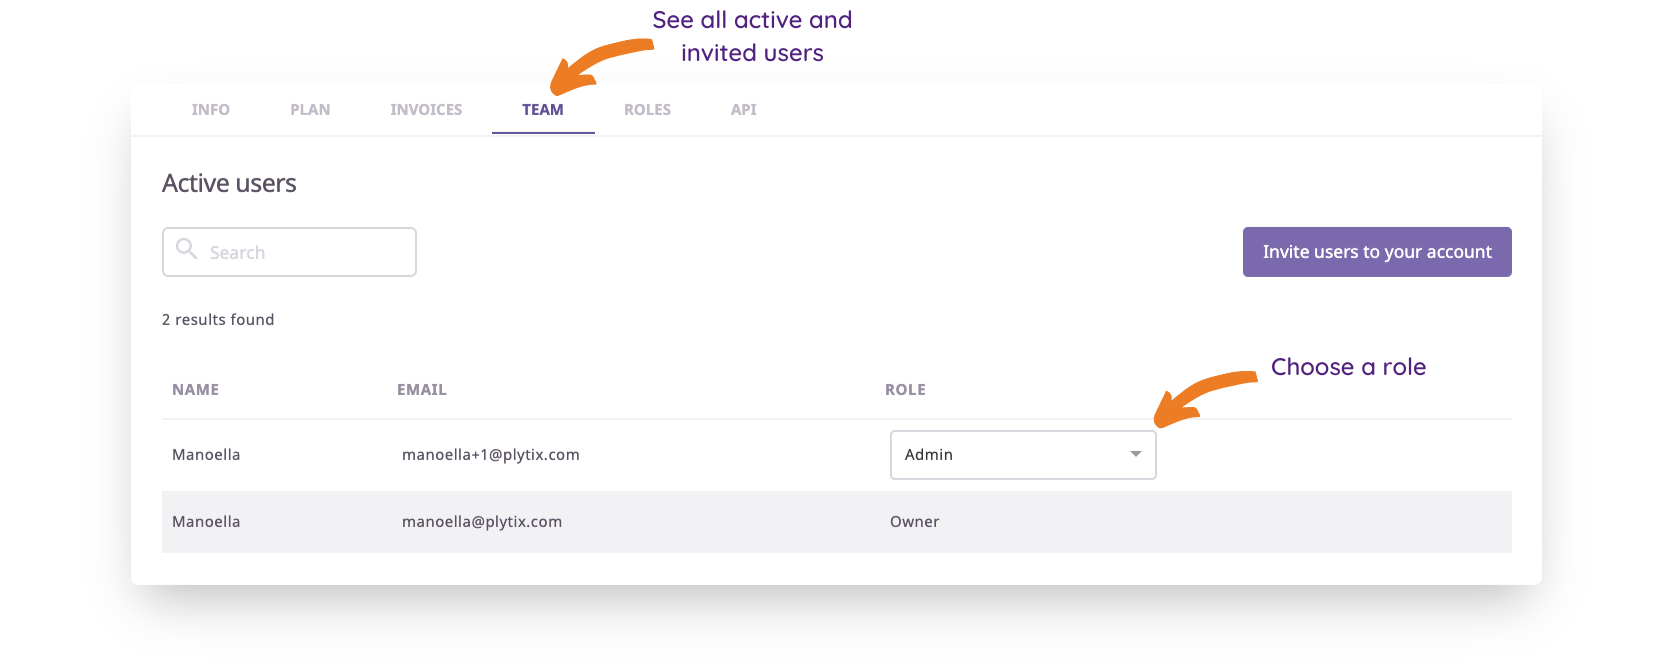
To assign team roles
- Navigate to the "Team" tab of account settings
- Find the user whose role you want to edit
- From the dropdown choose the new role
The new role will be applied to that user automatically.
What's next?
- Learn how to invite team members and collaborate in Plytix
- Learn about the different permission types
- Learn about the default system roles