
One of the great things about using Plytix is that you can link your products and your assets so that they are easy to use and find. In Plytix, you only need to upload your file once, and then you can use it in multiple places. In this article, we will explain the different ways to link or unlink an asset to a product so that they can be exported or used together.
From the Product Detail Page Attribute Tab
*Skip to any section in this article by clicking on the links above
Asset Overview
To manually link asset(s) from the Assets overview screen:
💡 This article explains the manual linking process. If you want to link assets to products automatically based on asset file name, click here to learn about Autolinking Assets with Products in Bulk.
ℹ️ You can link up to 1000 assets at a time.
- Select the asset(s) you want to link.
- From the set of options that appear at the bottom of the table, click on 'Link products.'
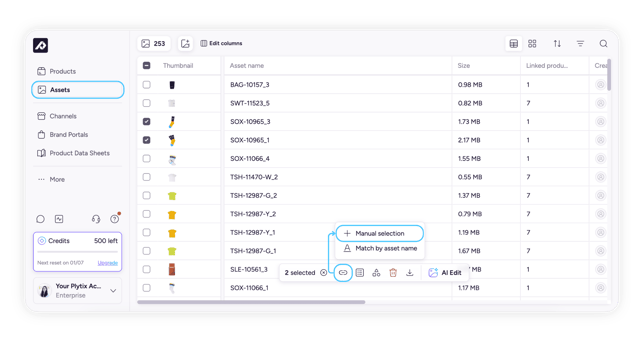
- From here, you can choose to link products by selecting them manually, or based on the asset file names. Here, we'll show you how to select products to link manually (if you want to link products automatically, see the link above).
If you choose an attribute that can store more than one asset, you'll have the option to choose whether to 'Add' the new assets to the gallery you're linking, or 'Replace existing' assets in that gallery.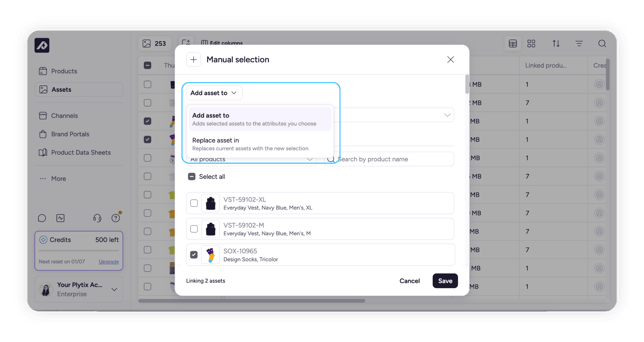
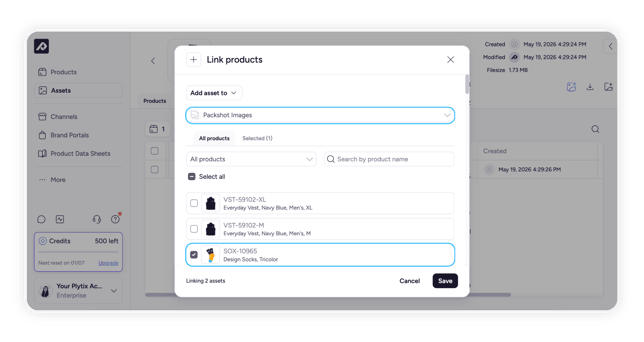
- Continue by selecting the media attribute where you want your assets to appear within your product. Now you'll select the products to which you want to link the asset.
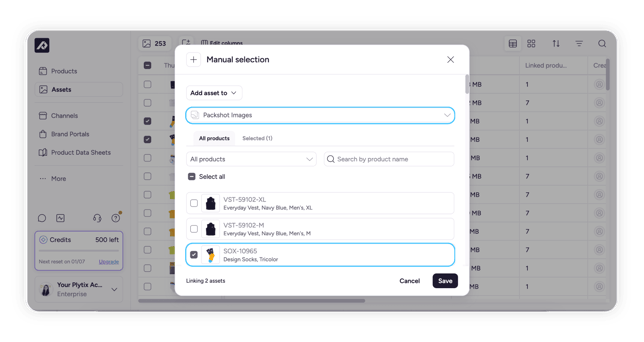
- Lastly, click 'Save.'
ℹ️ Note that if you choose an an attribute that can only store one asset, like 'Thumbnail,' you won't see the 'Add' and 'Replace existing' options.
⚠️ You can link no more than 300 assets to a product.
Asset Detail Page
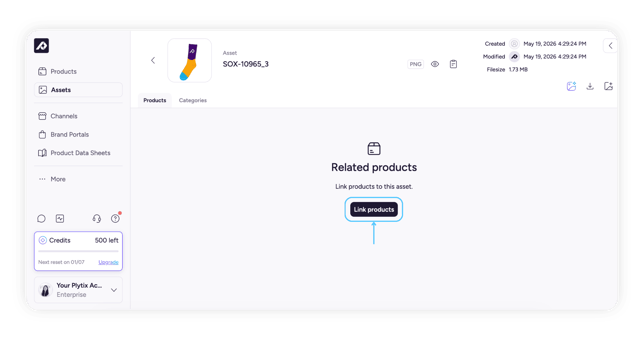
From the asset overview, click on an asset to enter the asset details page. This will take you to the 'Products' tab of the asset details page.
To link assets from the asset detail page:
- Click on 'Link Products.'
- In the popup that appears, select the attribute to which you want to assign this asset.
If you choose an attribute that can store more than one asset, you'll have the option to choose whether to 'Add' the new asset you're linking, or 'Replace existing' asset. If you choose an attribute that can only store one asset (like "Thumbnail"), you won't see these options.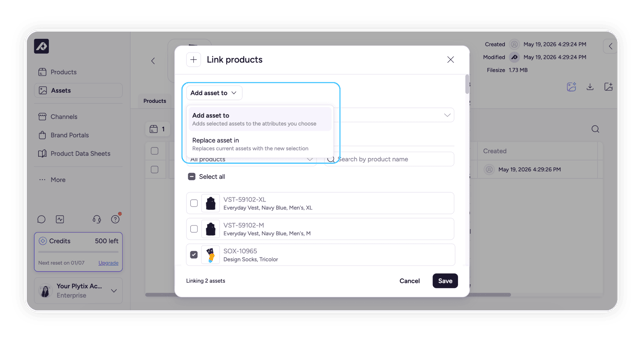
- Next, choose the products(s) you want to link, then click 'Next.' Narrow down the products you see by selecting a product 'Family' from the dropdown if desired. Lastly, click 'Save.'
The product(s) you have just linked will now appear in the "Products" tab of the asset detail page.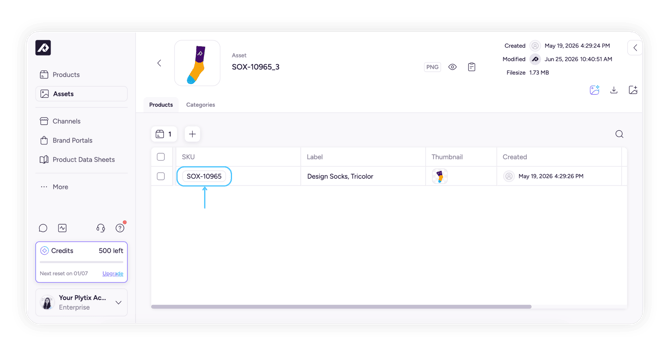
ℹ️ By linking your assets to a product, they will automatically be assigned to the "Assets" overview tab and the system attribute "Assets."
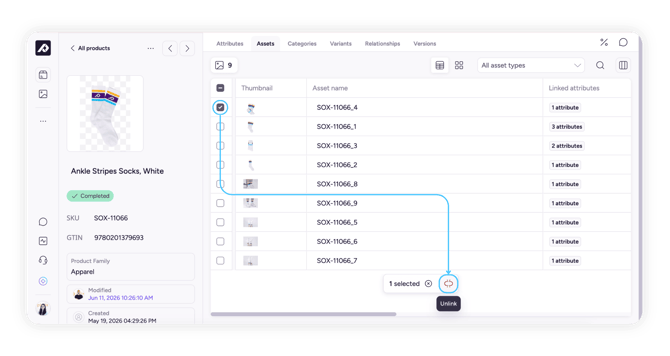
To unlink an asset from a product:
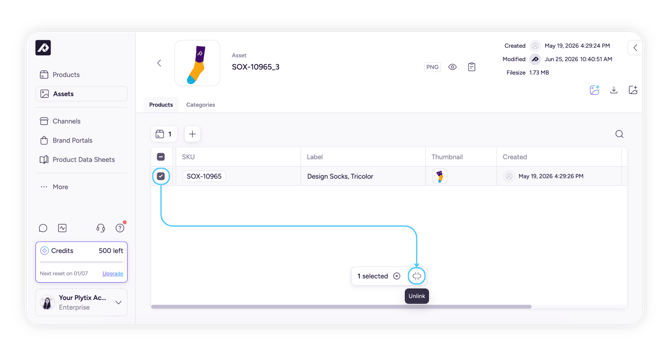
- From the "Products" tab of the asset details page, select the products you would like to unlink.
- From the additional options that appear above the table, click 'Unlink'. You will be asked to confirm the unlinking. Click 'Unlink' again and the product will be removed from the "Products" tab of the asset.
Product Overview
To link an asset from the Product Overview screen:
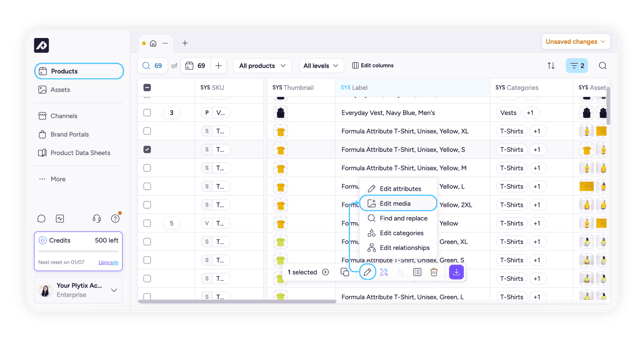
- Select the product(s) to which you want to link assets. From the set of options that appear at the bottom of the page, click on 'Edit media.'
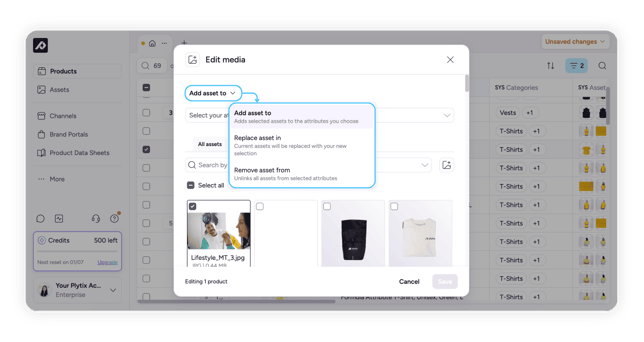
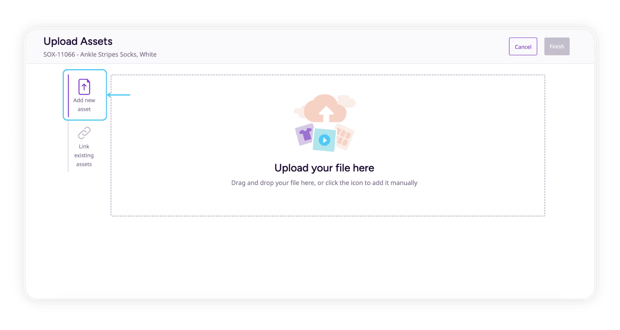
- Next, select 'Add new assets' and select the file(s) to upload....

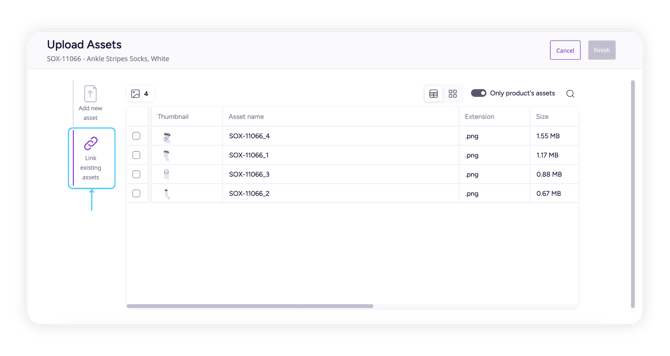
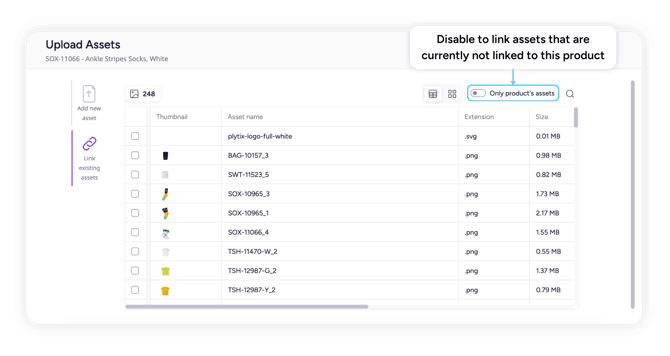
... or 'Link existing assets' and select which asset(s) to link.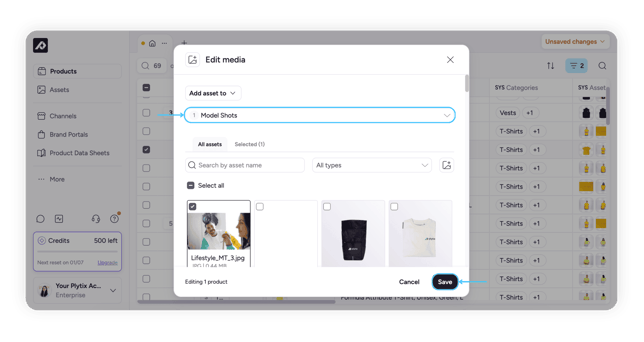
- Select the attribute to which you want to link the asset. For media gallery attributes, you have the option to select 'Add' or 'Replace existing.' Then click 'Link."
Once linked, your assets will appear on the detail page of the selected products, under the 'Assets' tab (which you can think of as an overview of all the assets related to that product).
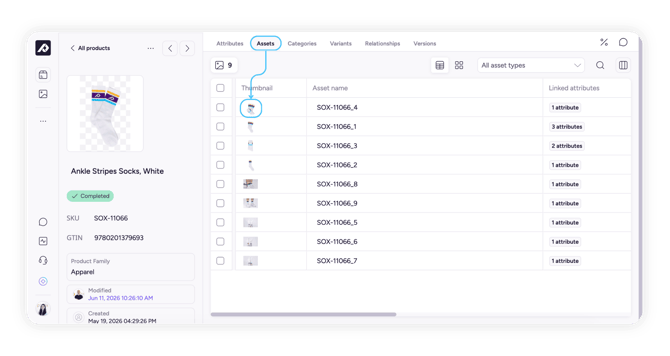
💡 You can view these assets in a list or in a grid.
To unlink assets:
- In the assets tab of a product, select the assets you would like to unlink.
- Click the 'Unlink assets' button that appears below the table.
Attribute Tab of the Product Detail Page
You can also link assets to media attributes of a specific product within the product detail page. For example, you can add an image to a product's "Thumbnail" attribute.
ℹ️ This requires you to create media attribute types in the system.
To link assets as attributes:
- Go to a product's detail page.
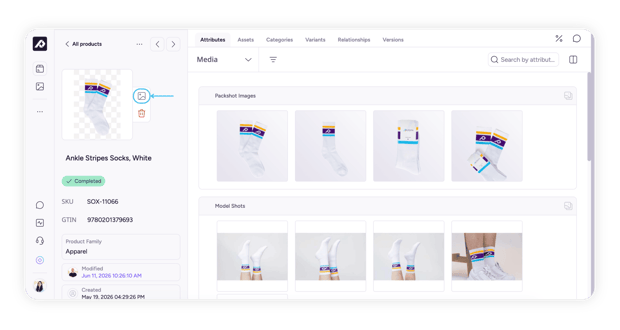
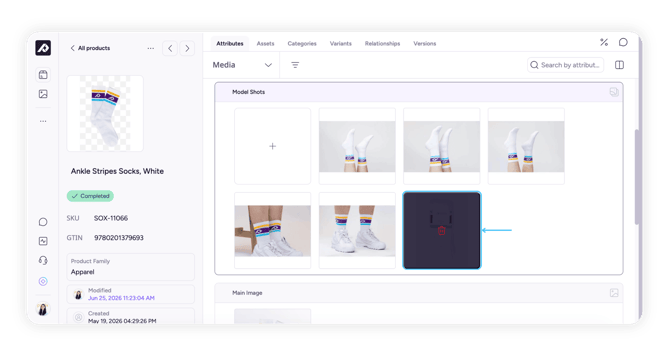
- On the 'Attributes' tab, find the media attribute to which you want to add assets. Hover your mouse over the attribute name and click it to edit that attribute.
- If changing the thumbnail, hover over the thumbnail image to display the 'Change thumbnail' icon.
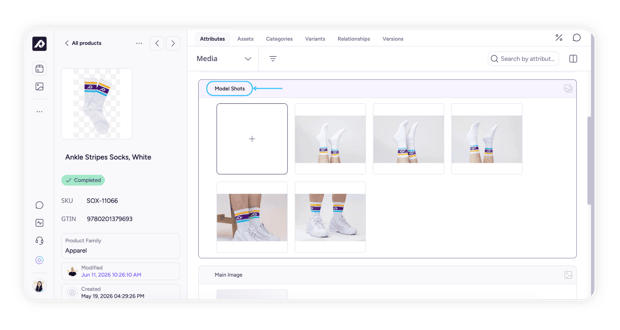
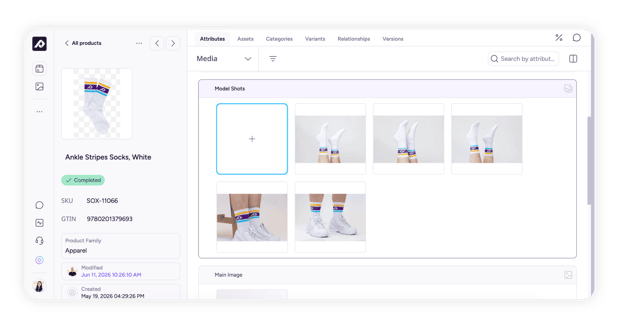
- Click on the plus icon to add more assets to the attribute you are editing.
- In the pop-up that appears, choose to 'Add new asset'....

To unlink an asset:
Click the pencil icon on the media attribute to edit it. Hover over an asset and click on the trash can icon to unlink this asset.
What's next?
- Learn how to import and upload assets to Plytix
- Learn how to bulk associate assets with products
- Learn how to export assets