
There are two main ways to export data from Plytix: from the product overview table and from Channels. Channels provide more customization and more formatting options, while in the Product Overview, you can export spreadsheets and PDFs.
Exporting Relationships from the Product Overview
Exporting Relationships from Channels
*Skip to a section in this article by clicking on the links above
Exporting Relationships from the Product Overview
1. In the Product Overview page, select the products you'd like to export.
2. Click the 'Export' button at the bottom of the page

3. Select your export method: CSV, XLSX, or PDF.

4. Then select the elements you want to include. In the "Available Attributes" column, "Relationships" are located below "System attributes."

5. Then click the purple 'Export' button.
If the file is small enough, it will download automatically in your browser.
If it is a large file, you will get an email with the file once it has been processed.

Exporting Relationships from Channels
ℹ️ This guide will only discuss exporting relationships from an existing channel. To learn more about creating and setting up channels, check out this article: Creating a Channel
From the Channels tab, select the channel with the information you want to export by clicking on its name.

This brings you to the channel's page where you will see the 'Attributes' tab below the name of the channel. Relationships are added from here and also formatted here.
To add a relationship:
1. Click the '+ Add Attributes' button.

2. Select 'Relationships' from the list below 'System Attributes' and then select the relationships you want to export.

3. Once selected, click the purple 'Add attributes' button.
Optional: Changing relationship export format
1. Locate the relationship(s) in the list of attributes and click the 'Settings' icon.

💡 Relationship attributes can be identified by the orange 'REL' label next to them.
2. In the panel that appears you can adjust the relationship output settings.

You can add, remove, and reorder by dragging and dropping:
- Identifier
- Quantity separator
- Quantity
If you selected the option to "Show quantity separator," the separator field can't be empty: 
💡 The "RELATIONSHIP OUTPUT EXAMPLE" provides a preview of what your data will look like.
After clicking 'Okay' in the Settings panel, you will need to process your channel to apply the new settings. Select 'Process now' at the top of the main channel page.
To export your file:
Select 'Created or modified' in the dropdown menu under "Product Processing" to make sure that all products get processed into the channel export. Then, click the purple 'Start processing' button in the top right corner.
On the main page of the channel, you'll see a link below the product name. You can click this link or click the 'Copy' button and paste it into your internet browser to begin your download.
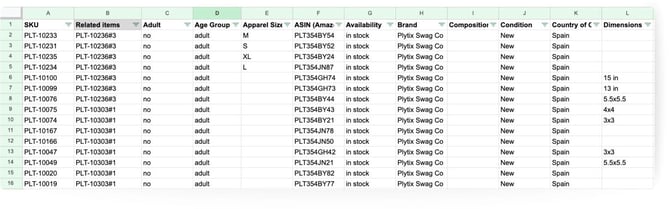
For a CSV file, you'll end up with something like this:
What's next?
- Learn how to view export logs
- Learn how to export product data
- Learn how to change export settings for Brand Portals