
One of the benefits of using Plytix is that, along with being a PIM platform, it also has an integrated DAM (Digital Asset Management) so you can store and manage all your assets in one place. Plytix’s DAM- among other things- allows you to access unlimited file storage in any format you need, organize your digital files in lists and categories, and export them out of Plytix and into different platforms through channels. We have gathered a few tips on how to manage your assets in Plytix to store, organize, and export them in the best possible way.
*Skip to any section in this article by clicking on the links above
Before Uploading your Assets
To make the best use of Plytix's Digital Asset Management (DAM) capabilities, it is important to understand how to bring your assets into the platform and, more importantly, the intended purpose of the links generated.
Upload Methods and Requirements
There are two main ways you can upload assets to Plytix: through a manual upload directly within Plytix, or by importing a CSV file with the asset URLs.
-
Manual Upload: You can upload up to 600 MB worth of assets at a time via the assets uploader.
-
CSV Import: If you are importing a CSV with the URLs of your digital files, make sure that they are all public URLs; otherwise, the assets won't be uploaded.
We recommend uploading all assets in their highest quality. Plytix offers different file storage limits in its plans, with the "Enterprise" plan offering unlimited storage, and you can always resize files or change their format later when exporting them through channels.
ℹ️ Plytix can store many different file formats, but is optimized for JPG and PNG file formats, which will show as image files in the PIM. Other formats might be stored in the PIM as URL links. Click to see a full list of the supported file types in Plytix.
💡 Pro tip: Media Single Attributes: Import product images as "Media Single" type attributes in numerical order (e.g., Image 1, Image 2). This grants you greater control over image order and selection during export.
Intended Use: Distribution vs. Private Hosting
While Plytix provides public links for your assets to facilitate synchronization, these links are not intended to be used as a private image hosting service (e.g., as the primary image source for your high-traffic website or custom application).
Distribution and Syndication (Correct Use): Plytix is designed to act as your "Source of Truth". Public links are intended to facilitate the synchronization of product data with sales channels (e.g., Amazon, Shopify), Brand Portals, and third-party applications.
Naming Assets
Naming your assets is an important part of using a DAM well since not only does it create consistency in your file management, but it also allows for easier search of your assets when you need to link them to products or edit your asset.
There are a few tips to keep in mind when choosing a naming convention for your digital files.
First, avoid using spaces and don’t use special characters in your asset names, other than dashes and underscores. We recommend avoiding the use of characters such as periods, trademark, copyright or currency symbols, quotes and apostrophes.
- don't: 100_fuzzy socks_thumbnail.png
- do: 100_fuzzy-socks_thumbnail.png
In addition, do not use non-English characters in your asset names! This can cause errors when exporting assets or syndicating your data.
A good practice we recommend following for assets that are linked to products is to use a smart asset nomenclature. This means that you would include identifiers of the products the assets are linked to, such as SKU, brand name, product label, style, colors, sides, order, and image types (i.e. thumbnail, silo, etc.).
Below are some examples of asset names following the tips mentioned above:
- sku_label_blue.png , sku_label_red.png
- sku_brand-name_1.jpg , sku_brand-name_2.jpg
- sku_category-name_thumbnail.png , sku_category-name_silo.png
- sku_catgegory-name_front.png , sku_catgegory-name_back.png
- sku_label_3_pk.jpg , sku_label_6_pk.jpg
- sku_style_1.png , sku_style_2.png
Storing Assets
Once you have your assets stored in Plytix, there are a couple of things you can do to manage them more effectively.
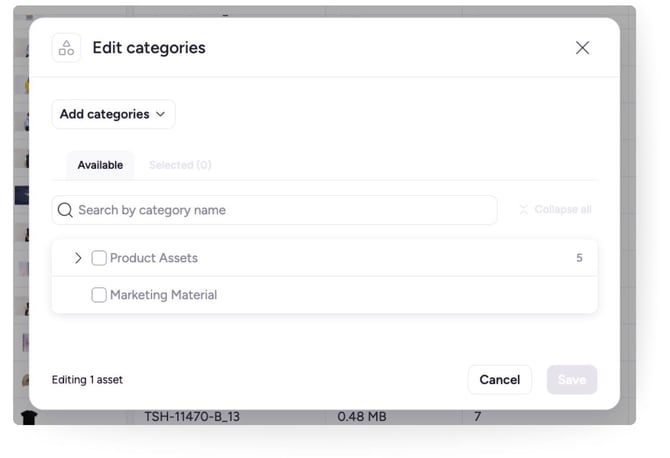
A good practice to follow is to create categories for your assets so you can order them by file type and format, the team it is managed by, date of upload, and more.
Additionally, you can make use of asset lists. These are helpful to organize your assets based on teams (i.e. Marketing, Sales, etc.) and where those assets will be used (i.e., Shopify Files, Website Media, etc.), for example.
Both are helpful tools especially when it comes to finding your assets in the Asset Overview Page where you can use filters to narrow your selection. You will also need to select an asset list when adding assets to your Brand Portals.
What's Next?
Learn how to organize assets in categories
Learn how to link and unlink assets with products manually