
Navigating a new tool can be challenging. This is why, with Plytix, you can reduce the learning curve by focusing on what really matters: having all your product data in a central place. If you already have data in your BigCommerce store, and are just getting started with Plytix, you don't to create your account from scratch. When creating a new account via the Plytix BigCommerce app, your PIM will automatically be configured with product data from your store.
In this article, you’ll learn how to create a new Plytix account through our app in the BigCommerce marketplace, and how to get started with managing your information once all your data is imported.
Installing the Plytix app on BigCommerce
If you already have a Plytix account
Viewing your product information
*Skip to any section in this article by clicking on the links above
Installing the Plytix app on BigCommerce
1. Log into your BigCommerce account, go to Apps, and click Marketplace.
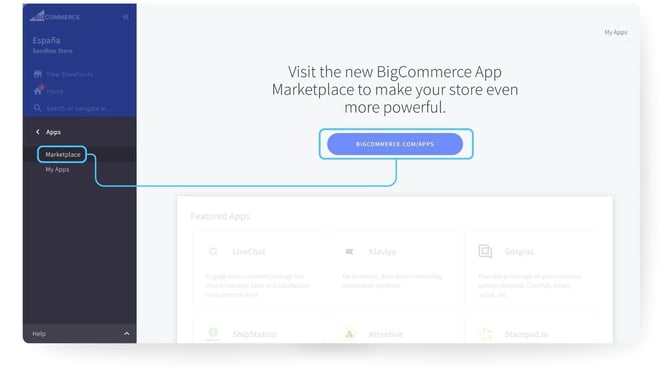
2. Go to bigcommerce.com/apps to access BigCommerce's full app list, then search for Plytix. Click Get this app.
3. You'll be asked to log into your BigCommerce store again to confirm access.
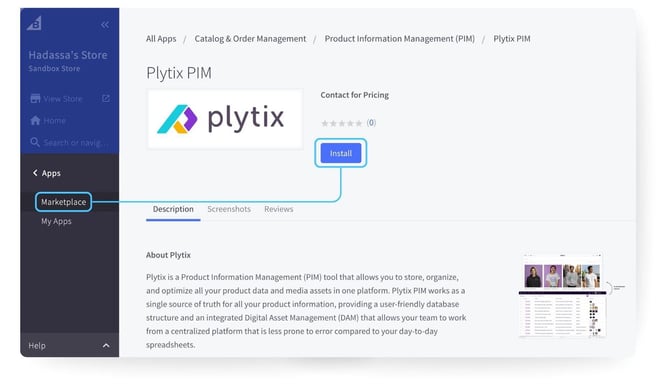
4. Click Install to begin setting up your Plytix account.
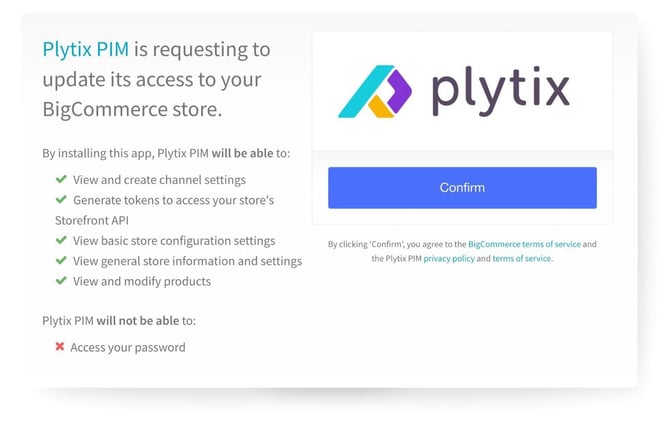
5. Click Confirm to accept the access requirements.
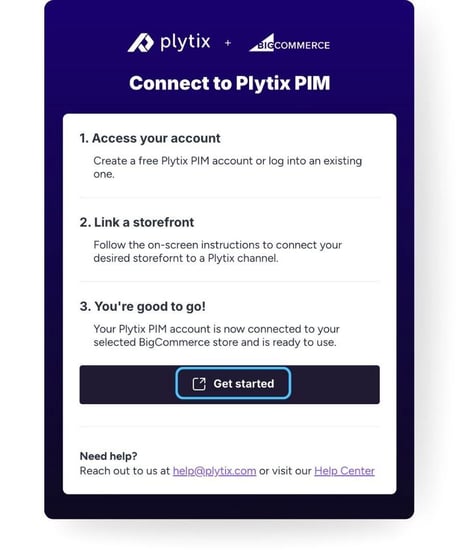
6. Click Get Started to move on to creating your Plytix account.
If you already have a Plytix account
⚠️ The direct importer described in this article only works for creating a brand new Plytix account. It's a one-time, account-creation-only mechanism, and can't be triggered afterward for an account that already exists, or used to overwrite or merge product data into one.
If you already have a Plytix account, follow these steps instead:
- Export your product data from BigCommerce as a CSV file.
- Import that CSV manually into your existing Plytix account using our CSV import tool.
- Once your product data is in Plytix, connect the BigCommerce channel to keep your store and your PIM in sync going forward.
ℹ️ For step-by-step instructions on connecting your BigCommerce channel to an existing Plytix account, check out Connecting Plytix to your BigCommerce Store.
Creating a Plytix account
To create a new Plytix account:
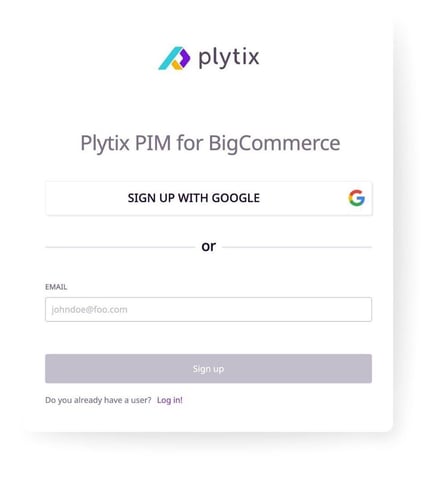
1. Enter your email address to sign up.
2. Check your inbox for a confirmation email and click the link to confirm your registration.
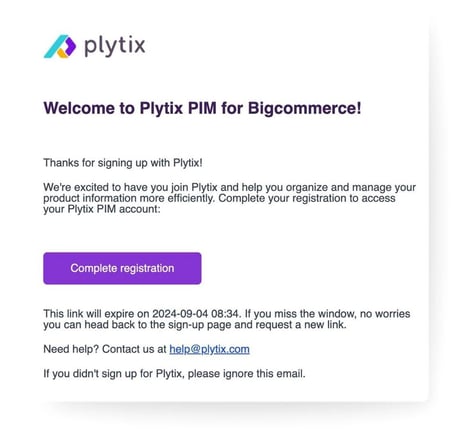
ℹ️ This confirmation link is valid for 24 hours. If it expires, go back to the sign-up page and register again with your email address.
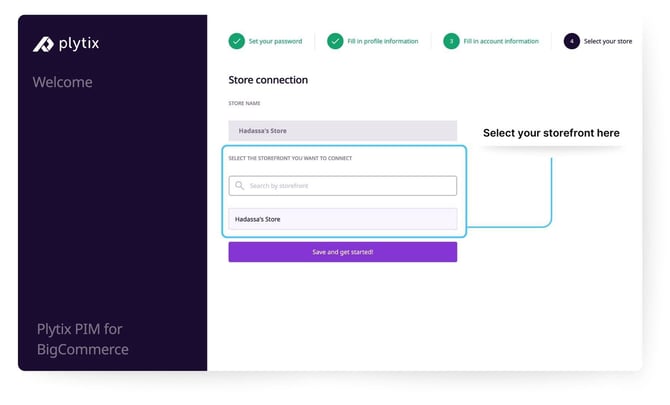
3. Follow the prompts to add your account information, then select the BigCommerce storefront you'd like to import products from.
ℹ️ Learn more about creating and editing your profile settings.
4. Once you save your profile information, your product data automatically imports from your BigCommerce storefront into Plytix. This usually only takes a few seconds.
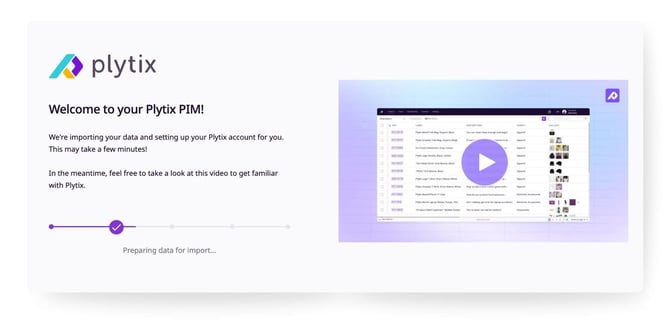
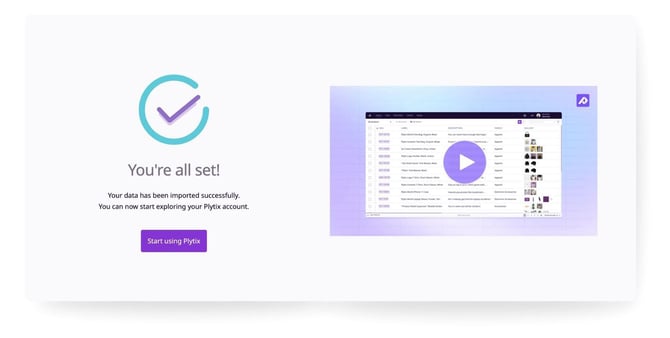
5. Once your data has finished importing, click Start using Plytix.
Viewing your product information
Plytix's direct importer automatically sets up your product structure based on the data in your BigCommerce storefront. Here's a quick tour of where to find things in your newly set up account.
Product Overview
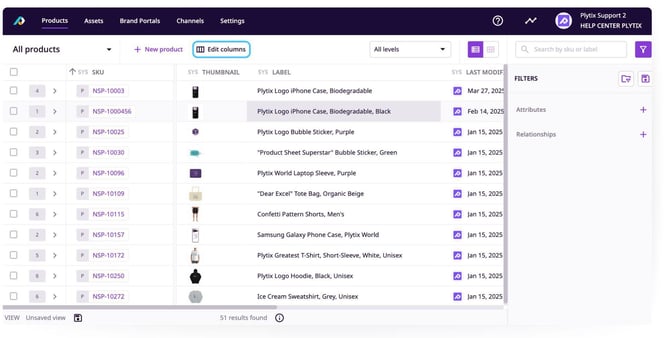
View all your products, including variants, in list view. From the top bar menu, you can filter by product family, choose which levels to display (All levels, Parents, or Variants), and use Edit columns to personalize which attributes show as columns in your table.
Each column represents a product attribute, so you can view and edit values directly in the table. When you have a family selected, column colors indicate whether an attribute is inherited from a parent, or falls outside the selected family.
ℹ️ Learn how to navigate the Product Overview.
💡 You can also save your setup as a View to return to it later. Create as many custom Views as you need, see Working with Views.
Product Detail
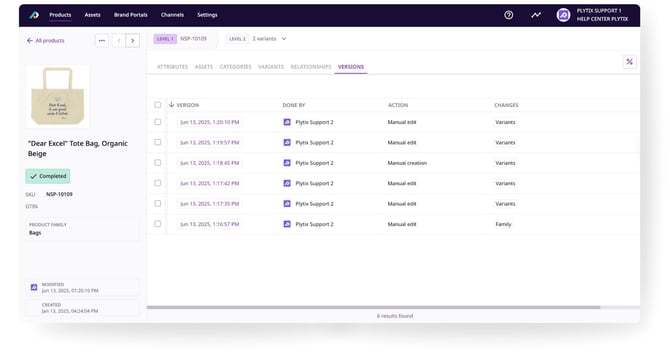
Click a product's SKU from the Product Overview to open its Product Detail page, where you can view and edit that individual product's information in more depth.
Unlike the Product Overview, the Product Detail page is dedicated to a single product, with information organized into tabs: Attributes, Assets, Categories, Variants, Relationships, and Versions.
ℹ️ Learn more about navigating the Product Detail page.
Assets
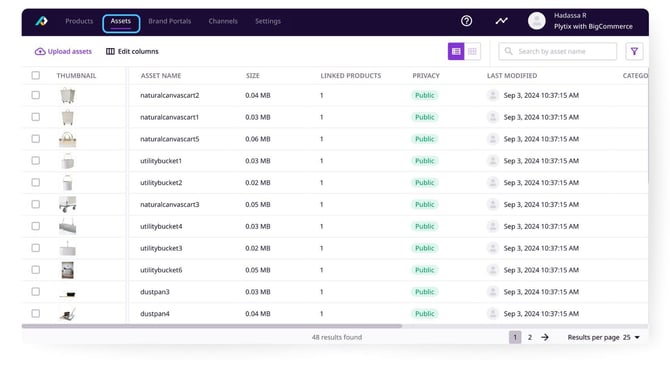
The Assets tab in the top menu is your central place to search for assets, though you can also see which assets are linked to a product from the Product Overview and Product Detail pages.
From the Assets tab, you can edit your columns to personalize your view, rename assets, view which products an asset is linked to, and upload or download files.
ℹ️ Learn more about the Asset Overview and Detail page.
Channels
Plytix lets you generate files in different formats to match your syndication needs, using direct connectors (like BigCommerce and Shopify) or templates (like Google Shopping).
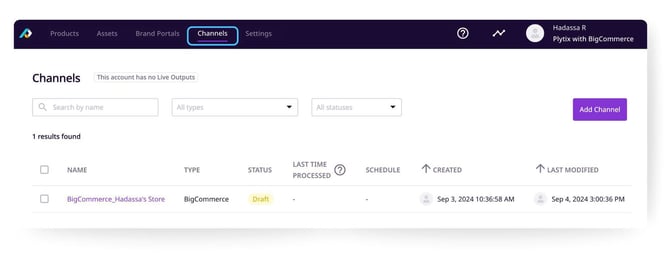
When you create a Plytix account through the Plytix BigCommerce app, a BigCommerce channel is automatically set up for you with all fields mapped, so there's no need to configure one from scratch.
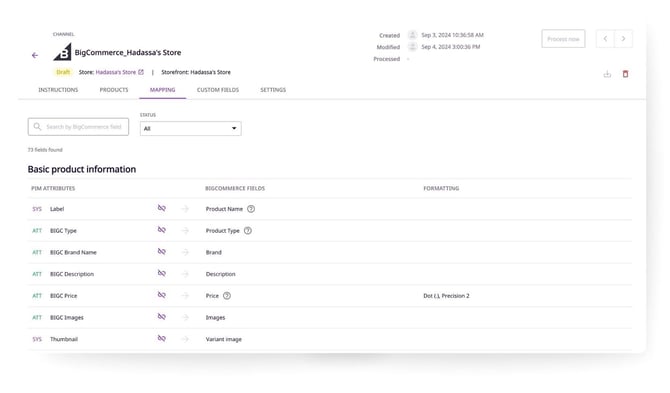
ℹ️ Find a detailed guide on how to manage and modify your BigCommerce channel.
Settings
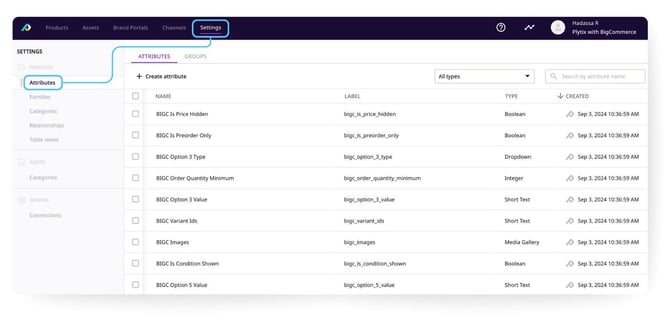
The Settings tab holds the full list of attributes and categories imported from your BigCommerce storefront.
- To view or create new attributes, click Attributes in the side menu.
- To view or create categories, click Categories in the side menu.
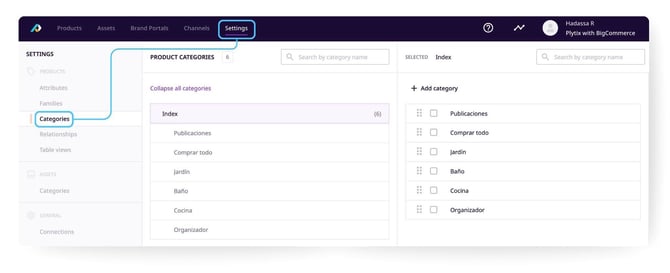
ℹ️ Find more information about managing product attributes and product categories.
What's next?
- Learn how to import new data via a CSV file
- Learn about Plytix's different attribute types
- Learn how to manage your BigCommerce channel in Plytix
Frequently Asked Questions
Can I use the direct importer to bring BigCommerce data into an account I already have?
No, it only works when creating a brand new Plytix account, and can't be run again afterward. For an existing account, export your BigCommerce data as a CSV and import it manually instead, then connect the BigCommerce channel to stay in sync going forward.
Is a BigCommerce channel already set up for me after using the direct importer?
Yes, a BigCommerce channel is automatically created and mapped for you, no need to configure one from scratch.